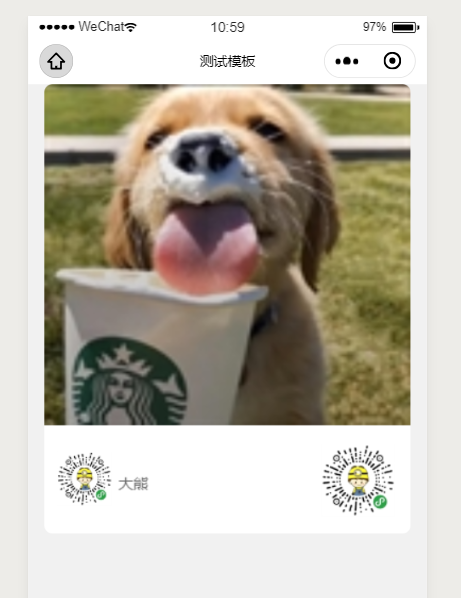
效果图:

<view class='poste_box' id='canvas-container' style="margin:0 auto;border-radius:16rpx;overflow:hidden;690rpx;height:846rpx">
  <canvas canvas-id="myCanvas" style="690rpx;height:846rpx;"></canvas>
  <!-- <canvas id="myCanvas" style="690rpx;height:846rpx;"></canvas> -->
</view>
Page({
  data: {
    cardInfo: {
      avater: "https://www.cnblogs.com/images/cnblogs_com/520BigBear/1196074/t_dog.jpg", //需要https图片路径
      qrCode: "https://www.cnblogs.com/images/cnblogs_com/520BigBear/1196074/t_love.jpg", //需要https图片路径
      Name: '大熊', //姓名
    }
  },

  onLoad: function () {
    this.getAvaterInfo();
  },

  /**
   * 先下载头像图片
   */
  getAvaterInfo() {
    var that = this;
    wx.downloadFile({
      url: that.data.cardInfo.avater, //头像图片路径
      success: function (res) {
        if (res.statusCode === 200) {
          var avaterSrc = res.tempFilePath; //下载成功返回结果
          that.getQrCode(avaterSrc); //继续下载二维码图片

        }
      }
    })
  },

  /**
   * 下载二维码图片
   */
  getQrCode(avaterSrc) {
    var that = this;
    wx.downloadFile({
      url: that.data.cardInfo.qrCode, //二维码路径
      success: function (res) {
        if (res.statusCode === 200) {
          var codeSrc = res.tempFilePath;
          that.sharePosteCanvas(avaterSrc, codeSrc);
        }
      }
    })
  },

  /**
   * 开始用canvas绘制分享海报
   * @param avaterSrc 下载的头像图片路径
   * @param codeSrc   下载的二维码图片路径
   */
  sharePosteCanvas: function (avaterSrc, codeSrc) {
    wx.showLoading({
      title: '生成中...',
      mask: true,
    })
    var that = this;
    var cardInfo = that.data.cardInfo; //需要绘制的数据集合
    const ctx = wx.createCanvasContext('myCanvas'); //创建画布
    var width = "";
    wx.createSelectorQuery().select('#canvas-container').boundingClientRect(function (rect) {
      var height = rect.height;
      var width = rect.width;
      console.log(height, width)
      var left = 0;
      console.log(left)
      ctx.setFillStyle('#fff');
      ctx.fillRect(0, 0, width, height);

      //头像为正方形
      if (avaterSrc) {
        ctx.drawImage(avaterSrc, left, 0, width, width*0.93);//链接, 左边距/上边距/宽度/高度/
      }

      //姓名
      if (cardInfo.Name) {
        ctx.setFontSize(14);
        ctx.setFillStyle('#666');
        // ctx.setTextAlign('left');
        ctx.fillText(cardInfo.Name, width * 0.15 + 18, width * 0.93+60);
      }

      //  绘制二维码 + 头像
      if (codeSrc) {
        ctx.drawImage(codeSrc, width - width * 0.2 - 15, width * 0.93 + 17, width * 0.2, width * 0.2)
        ctx.drawImage(codeSrc, 12, width, width * 0.15, width * 0.15)
      }
    }).exec()//注意一点的是保存图片时需要延迟,这是老版的写法,没有啥问题,新版写法可以通过draw回调画图成功后调用保存图片的api wx.canvasToTempFilePath。这个时候就不需要写延时保存图片。
    setTimeout(function () {
      ctx.draw();
      wx.hideLoading();
    }, 1000)
  }
})