最近在学习安卓应用,不过学习的过程中没有项目做总是觉得没有成就感,很难坚持下去。所以写这一系列的东西来记录自己在开发过程中学到的东西,也算是一个监督吧。废话不多说,下面就开始这个旅程吧!
开发环境:MAC OS && Android Studio
今天做的内容主要是欢迎界面和登陆界面。其中欢迎界面包括一张白色的背景图片和新浪微博的Logo,Logo带有渐变的动画特效,在三秒钟特效完成之后跳转到登陆界面。下面是效果图


效果比较简单,不过这里面的知识点也不少,下面一一总结。
一、欢迎界面
欢迎界面由一张白色的背景图片和新浪微博的Logo组成。先将这两张图片加入到资源库当中,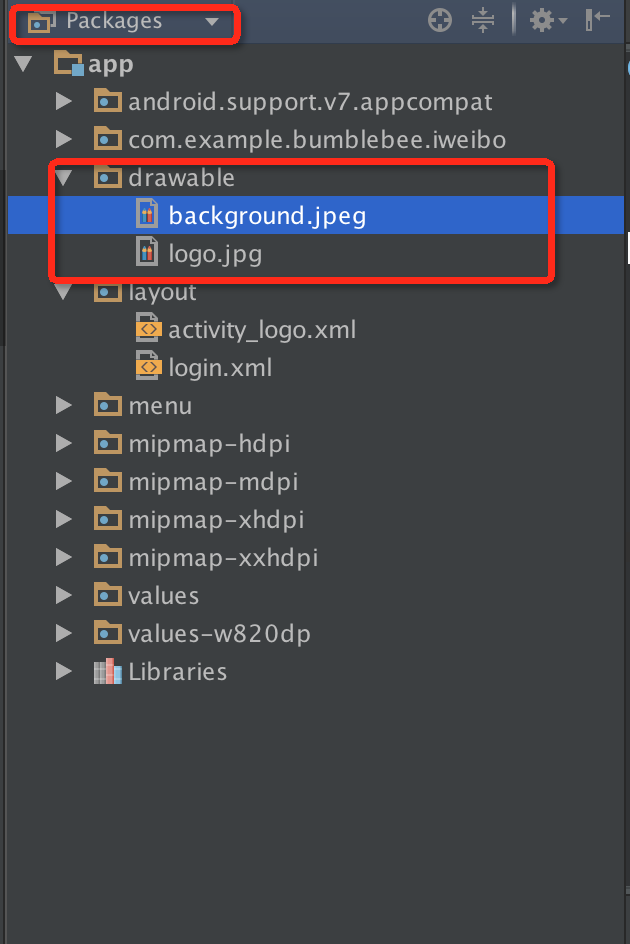
如图所示,在Package模式下将两张图片粘贴进drawable中即可在文件中使用了。下面编写代码,首先是第一个Activity的XML文件
<RelativeLayout xmlns:android="http://schemas.android.com/apk/res/android"
    xmlns:tools="http://schemas.android.com/tools" android:layout_width="fill_parent"
    android:layout_height="fill_parent" android:paddingLeft="@dimen/activity_horizontal_margin"
    android:paddingRight="@dimen/activity_horizontal_margin"
    android:paddingTop="@dimen/activity_vertical_margin"
    android:paddingBottom="@dimen/activity_vertical_margin" tools:context=".Logo"
    android:background="@drawable/background"
    android:gravity="center"
    >

</RelativeLayout>
这段代码比较简单,大多数都是Android Studio在创建XML文件时自动生成好的,我们这里加入了两行,设置background为我们放置在drawable文件夹下面的背景图片,并使用gravity属性使其居中显示。更改的代码有layout_width和layout_height,使其填充满整个屏幕fill_parent。
紧接着在这两个<RelativeLayout>标签中加入一张图片,也就是新浪微博的Logo。
<ImageView
        android:layout_width="wrap_content"
        android:layout_height="wrap_content"
        android:src="@drawable/logo"
        android:id="@+id/ImageLogo"

        />
布局文件到这里就编写完成了,接下来要在java文件中编写他们的一些行为。
我们要实现的行为很简单,就是一个ImageView的对象在三秒钟之内由透明渐变为不透明,这里要使用安卓中的一个动画类AlphaAnimation,该类主要用于淡入淡出的效果,关于更多的安卓动画效果可以参考这篇文章,http://www.360doc.com/content/13/0102/22/6541311_257754535.shtml,我们这里只介绍这一种。
首先先实例化ImageView和AlphaAnimation
private ImageView imageView;
private AlphaAnimation alphaAnimation;
imageView对象通过findViewById方法将其找到
imageView = (ImageView)findViewById(R.id.ImageLogo);
alphaAnimation对象通过构造函数来生成
alphaAnimation = new AlphaAnimation(0.0f, 0.1f);
还是先贴出这个构造函数AlphaAnimation的文档吧
public AlphaAnimation (float fromAlpha, float toAlpha)

Added in API level 1
Constructor to use when building an AlphaAnimation from code

Parameters
fromAlpha    Starting alpha value for the animation, where 1.0 means fully opaque and 0.0 means fully transparent.
toAlpha    Ending alpha value for the animation.
英文水平不过关的小伙伴们可以看这里:这个函数生成一个淡入淡出的动画,fromAlpha参数代表开始时的透明度,toAlpha代表结束时的透明度。1.0表示完全不透明,0.0表示完全透明。由于这里参数类型是两个float,而编译器默认的小数是double类型,所以我们要在后面加上一个“f”表示这是一个float类型的参数。
接下来调用Animation中的方法setDuration,它的参数是这个动画持续的时间,单位为毫秒
alphaAnimation.setDuration(3000);
现在动画有了,图片也有了,怎么让这个图片按照动画动起来呢?使用setAnimation方法即可。这个方法是在View类中实现的,所以继承自View类的控件都可以使用这个方法。
imageView.setAnimation(alphaAnimation);
这样子我们的欢迎界面就做好了。
二、登录界面
我们实现的登录界面也很简单,两个EditText控件,两个Button控件。不过这是第二个界面了,我们首先要创建一个XML文件。同样是在Package模式下,右键layout新建一个XML布局文件
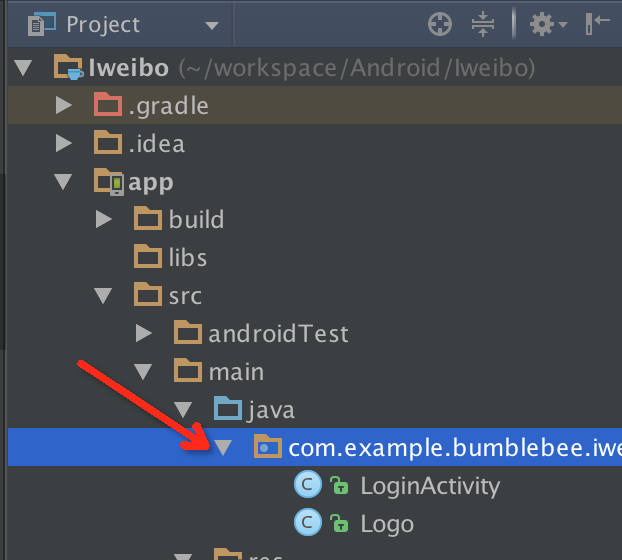
接下来在Project模式下在如图所示的目录中新建一个class
之后让该类继承AppCompatActivity类
public class LoginActivity extends AppCompatActivity
并重写onCreate方法,设置界面为我们刚才新建的XML文件
protected void onCreate(Bundle savedInstanceState) {
        super.onCreate(savedInstanceState);


        setContentView(R.layout.login);

    }
下面要在AndroidMinafest.xml文件中注册我们刚刚生成的Activity,代码如下


<?xml version="1.0" encoding="utf-8"?>
<manifest xmlns:android="http://schemas.android.com/apk/res/android"
    package="com.example.bumblebee.iweibo" >

    <application
        android:allowBackup="true"
        android:icon="@mipmap/ic_launcher"
        android:label="@string/app_name"
        android:theme="@style/AppTheme" >
        <activity
            android:name=".Logo"
            android:label="@string/app_name" >
            <intent-filter>
                <action android:name="android.intent.action.MAIN" />

                <category android:name="android.intent.category.LAUNCHER" />
            </intent-filter>
        </activity>

        <activity
            android:name=".LoginActivity"
            android:label="Login"


            >

        </activity>

    </application>

</manifest>
刚打开的时候里面已经有一个<activity>了,那就是我们的欢迎界面的activity,我们要在新建一个<activity>标签,并初始化名称和标签即可。这里要注意下面这段代码
<intent-filter>
                <action android:name="android.intent.action.MAIN" />

                <category android:name="android.intent.category.LAUNCHER" />
</intent-filter>
它处在哪个<activity>标签中,我们的app启动时就会将那个界面当做初始界面。
到这里,一个新的activity就创建好了。下面在布局文件中创建并摆放控件
<?xml version="1.0" encoding="utf-8"?>
<RelativeLayout xmlns:android="http://schemas.android.com/apk/res/android"
    android:layout_width="match_parent" android:layout_height="match_parent"
    android:gravity="center_horizontal"
    >

    <EditText
        android:layout_width="300dp"
        android:layout_height="wrap_content"
        android:hint="UserName"
        android:id="@+id/LogineditText"
        android:layout_marginTop="50dp"
        />

    <EditText
        android:layout_width="300dp"
        android:layout_height="wrap_content"
        android:hint="Password"
        android:inputType="textPassword"
        android:id="@+id/PasswdeditText"
        android:layout_below="@+id/LogineditText"
        android:layout_marginTop="50dp"
        android:layout_alignLeft="@+id/LogineditText"
        />


    <Button
        android:layout_width="wrap_content"
        android:layout_height="wrap_content"
        android:text="Login"
        android:id="@+id/LoginButton"
        android:layout_below="@+id/PasswdeditText"
        android:layout_marginLeft="30dp"

        />

    <Button
        android:layout_width="wrap_content"
        android:layout_height="wrap_content"
        android:text="Register"
        android:id="@+id/RegisrerButton"
        android:layout_below="@+id/PasswdeditText"
        android:layout_toRightOf="@+id/LoginButton"
        android:layout_marginLeft="50dp"
        />

</RelativeLayout>
这部分代码就太基础了,不再一一赘述。有几个特别的属性在这里提一下:
EditText中的hint属性,他后面的字符串在用户还没有输入是在EditText中显示,当用户输入后就消失
EditText中的inputType属性,由于第二个输入框内容是密码,所以输入后要隐藏,使用textPassword即可达到这个效果
到这里,登录界面也完成了!
三、由欢迎界面到登陆界面之间的跳转
跳转使用的是Intent类,首先对其进行实例化
private Intent intent;

intent = new Intent(this, LoginActivity.class);
这是调用startActivity(intent)方法就可以从欢迎界面跳转到登录界面,不过直接这样写的效果就是看不到第一个界面,直接来到了登录界面。为什么呢?原因是我们在设置动画时,它的持续时间是3秒钟,也就是说第一个界面至少会持续三秒钟,如果设置完之后我们立刻跳转,那么肯定是看不到这个效果的。好在Android为我们提供了动画的监听器,如下所示:
alphaAnimation.setAnimationListener(new Animation.AnimationListener() {
            @Override
            public void onAnimationStart(Animation animation) {

            }

            @Override
            public void onAnimationEnd(Animation animation) {
                startActivity(intent);
            }

            @Override
            public void onAnimationRepeat(Animation animation) {

            }
        });
他有三个方法,分别是在动画播放的三个阶段进行不同的动作,根据名字,我们只需重写onAnimationEnd方法,就可以实现在动画播放结束后进行跳转了。
这次的内容就这么多,下次再见。转载请通知本人或注明出处!