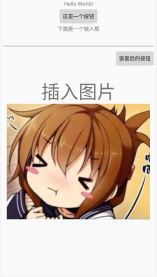
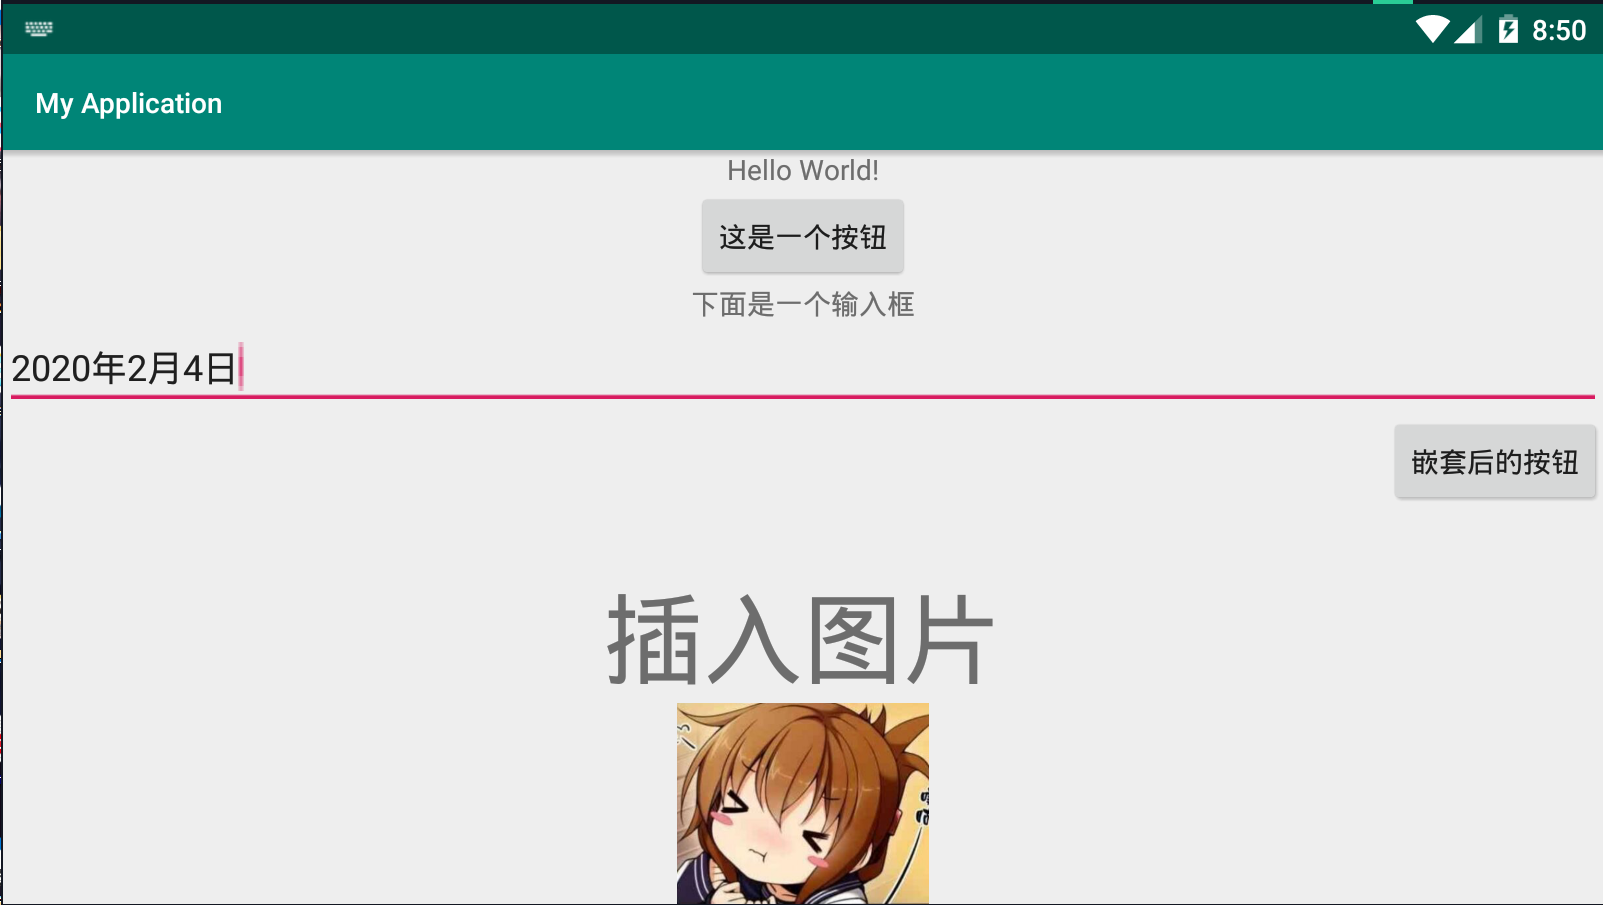
今日熟悉了android studio中的其他常用控件,以及线性布局的嵌套使用。
Android Studio中控件不只是textview(文本),button(按钮),还有输入框,插入图片等控件。其中在学习插入图片时我认识了drawable文件夹,这个文件夹是用来存放图片的,使用时直接通过android:src="@drawable/图片名称"即可调用,以下是练习时写下的代码
<?xml version="1.0" encoding="utf-8"?>
<LinearLayout xmlns:android="http://schemas.android.com/apk/res/android"
    xmlns:app="http://schemas.android.com/apk/res-auto"
    xmlns:tools="http://schemas.android.com/tools"
    android:layout_width="match_parent"
    android:layout_height="match_parent"
    android:orientation="vertical"
    android:gravity="center_horizontal"
    tools:context=".MainActivity">

    <TextView
        android:id="@+id/textView"
        android:layout_width="wrap_content"
        android:layout_height="wrap_content"
        android:layout_alignParentTop="true"
        android:layout_centerHorizontal="true"
        android:text="Hello World!"
        />

    <Button
        android:layout_width="wrap_content"
        android:layout_height="wrap_content"
        android:text="这是一个按钮"
        />

    <TextView
        android:layout_width="wrap_content"
        android:layout_height="wrap_content"
        android:text="下面是一个输入框"
        />

    <EditText
        android:layout_width="fill_parent"
        android:layout_height="wrap_content"
        />

    <LinearLayout
        android:layout_width="fill_parent"
        android:layout_height="wrap_content"
        android:orientation="horizontal"
        android:gravity="right">

    <Button
        android:layout_width="wrap_content"
        android:layout_height="wrap_content"
        android:text="嵌套后的按钮"
        />
        </LinearLayout>

    <TextView
        android:layout_width="wrap_content"
        android:layout_height="wrap_content"
        android:layout_marginTop="30dp"
        android:textSize="50dp"
        android:text="插入图片"
        />

    <ImageView
        android:layout_width="wrap_content"
        android:layout_height="wrap_content"
        android:src="@drawable/picture1"
        />
</LinearLayout>
使用模拟器打开的界面效果不太一样,先附上手机样式的图片效果:

使用虚拟机的演示效果(在输入框里写入文本)
