昨天对Button组件进行了一定的学习,实际上学习的东西相当少,今天加大了学习量,主要学习了android的六个布局:RelativeLayout【相对布局】,LinearLayout【线性布局】,GridLayout【网格布局】,FrameLayout【帆布局】,TableLayout【表格布局】,AbsoluteLayout【绝对布局】。
其中我重点测试了相对布局和线性布局。在编写过程中,我按照网上的实例进行测试,起初直接写上RelativeLayout或LinearLayout报错,后来找了一些其他更详尽的例子才发现,开头的写法应该是:
<(XX布局) xmlns:android="http://schemas.android.com/apk/res/android" ...>。后面的属性调用很容易,只要按照固定的【android:】格式写入所要使用的属性即可。以下是相对布局的尝试代码:
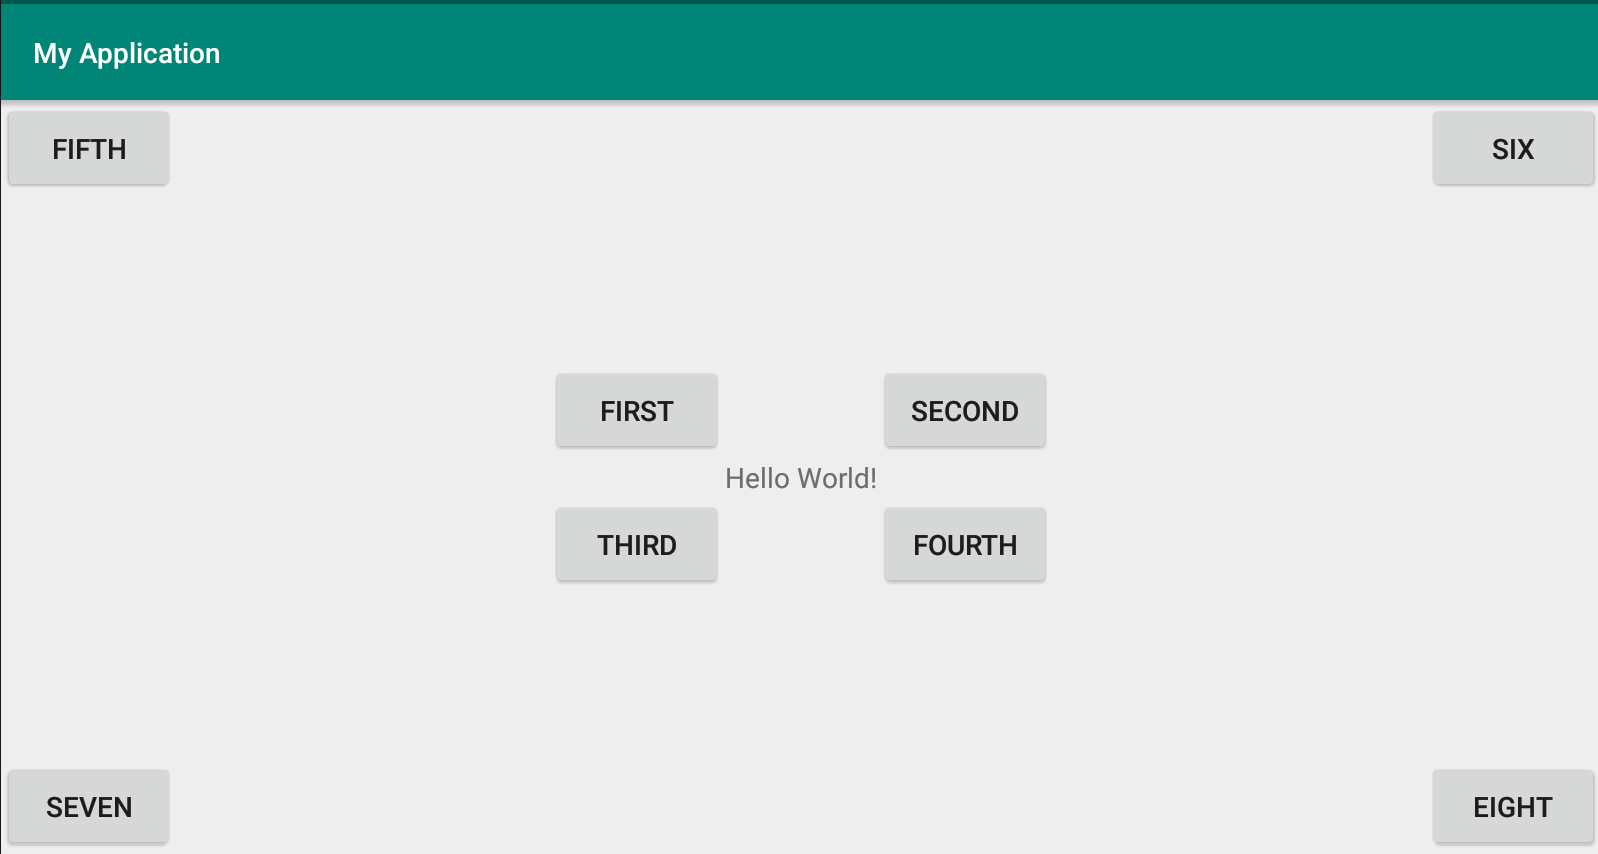
<?xml version="1.0" encoding="utf-8"?>
<RelativeLayout xmlns:android="http://schemas.android.com/apk/res/android"
    xmlns:app="http://schemas.android.com/apk/res-auto"
    xmlns:tools="http://schemas.android.com/tools"
    android:layout_width="match_parent"
    android:layout_height="match_parent"
    tools:context=".MainActivity">

    <TextView
        android:id="@+id/textView"
        android:layout_width="wrap_content"
        android:layout_height="wrap_content"
        android:layout_centerInParent="true"
        android:text="Hello World!"
        />

    <Button
        android:layout_width="wrap_content"
        android:layout_height="wrap_content"
        android:layout_above="@id/textView"
        android:layout_toLeftOf="@id/textView"
        android:text="First"
         />

    <Button
        android:layout_width="wrap_content"
        android:layout_height="wrap_content"
        android:layout_above="@id/textView"
        android:layout_toRightOf="@id/textView"
        android:text="Second"
        />

    <Button
        android:layout_width="wrap_content"
        android:layout_height="wrap_content"
        android:layout_below="@id/textView"
        android:layout_toLeftOf="@id/textView"
        android:text="Third"
        />

    <Button
        android:layout_width="wrap_content"
        android:layout_height="wrap_content"
        android:layout_below="@id/textView"
        android:layout_toRightOf="@id/textView"
        android:text="Fourth"
        />

    <Button
        android:layout_width="wrap_content"
        android:layout_height="wrap_content"
        android:layout_alignParentLeft="true"
        android:text="Fifth"
        />

    <Button
        android:layout_width="wrap_content"
        android:layout_height="wrap_content"
        android:layout_alignParentRight="true"
        android:text="Six"
        />

    <Button
        android:layout_width="wrap_content"
        android:layout_height="wrap_content"
        android:layout_alignParentBottom="true"
        android:text="Seven"
        />

    <Button
        android:layout_width="wrap_content"
        android:layout_height="wrap_content"
        android:layout_alignParentBottom="true"
        android:layout_alignParentRight="true"
        android:text="Eight"
        />
</RelativeLayout>
运行后的效果(虚拟机)