对jar部署方式 单服务端 接口配置https
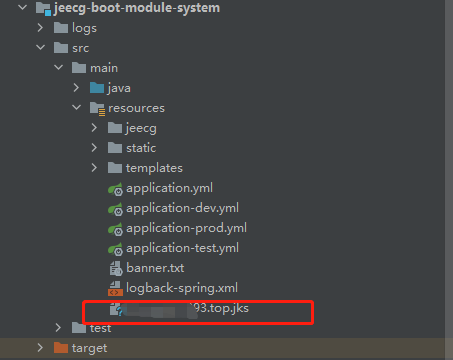
1、将证书文件导入项目中
2、配置application-prod.yml文件
server:
  port: 443
  ssl:
    enabled: true
    key-store: classpath:z******.jks
    key-password: hderdefef**ddd
    key-store-type: JKS
说明:
port:SSL监听的端口443
key-store:证书的完整路径,如上图已经导入到项目中,前面一定要加classpath:标志
key-password:证书密码,keystorePass.txt中的内容。
key-store-type:证书类型,我用的是JKS
3、这里配置完成后,修改pom.xml文集,排除jks文件

代码
<resources>
            <resource>
                <directory>src/main/resources</directory>
                <filtering>true</filtering>
                <excludes>
                    <exclude>xxxxxxx.jks</exclude>
                </excludes>
            </resource>
            <resource>
                <directory>src/main/resources</directory>
                <filtering>false</filtering>
                <includes>
                    <include>xxxxxxx.jks</include>
                </includes>
            </resource>
            <resource>
                <directory>src/main/java</directory>
                <includes>
                    <include>**/*.xml</include>
                    <include>**/*.json</include>
                    <include>**/*.ftl</include>
                </includes>
            </resource>
        </resources>
现在服务端的接口服务就配置完成了,直接在maven中对应install和package打包出来.jar文件部署即可
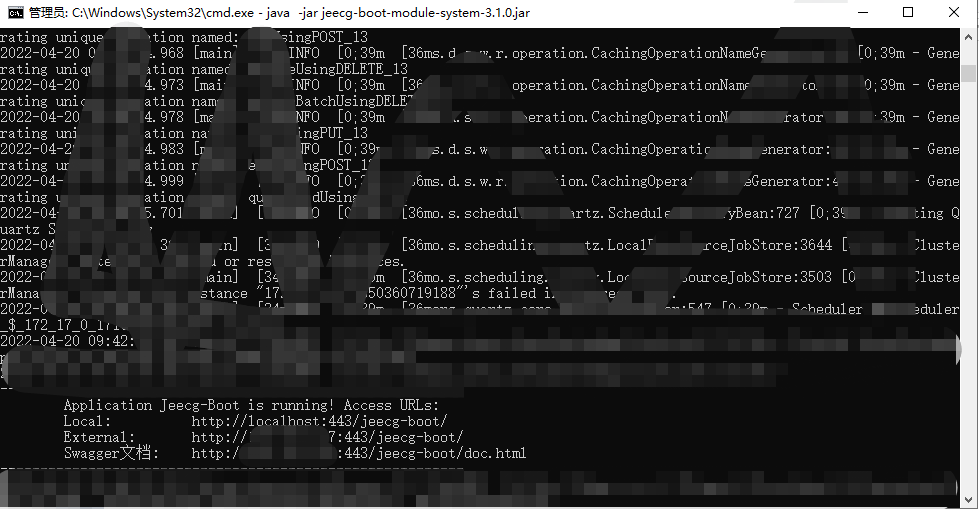
最后在服务端运行 java -jar jeecg-boot******.jar 能看到如下界面,就说明服务端部署没毛病
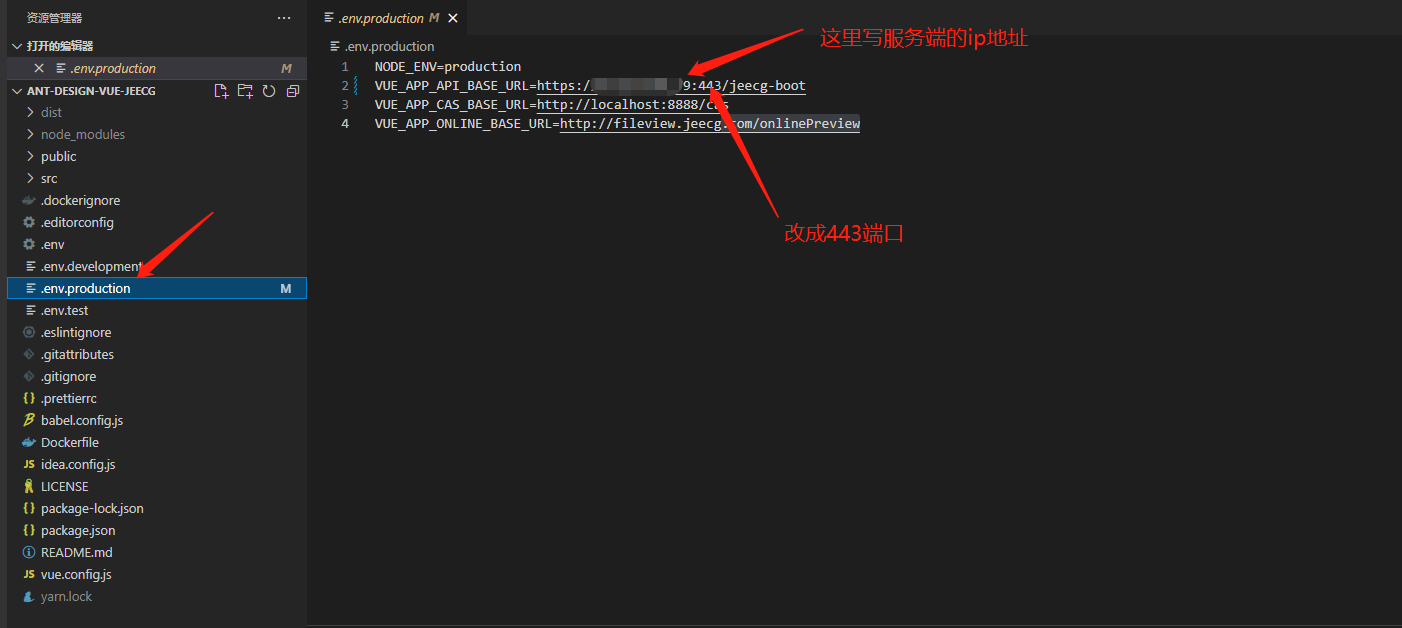
4、前端部署,修改.env.production中的相关配置:
5、前端的配置文件:nginx.conf
按照官方的配置基本没问题,需要修改部分地方,参看一个网友他的配置是这样的:
server {
    listen 3000 ssl;
    server_name xxx.xxx.cn;

    ssl_certificate /opt/server.crt;
    ssl_certificate_key /opt/server.key;

    #后台服务配置,配置了这个location便可以通过http://域名/jeecg-boot/xxxx 访问
    location ^~ /jeecg-boot {
        proxy_pass              https://localhost:443/jeecg-boot/;
        proxy_set_header        Host localhost;
        proxy_set_header        X-Real-IP $remote_addr;
        proxy_set_header        X-Forwarded-For $proxy_add_x_forwarded_for;
    }
    #解决Router(mode: 'history')模式下,刷新路由地址不能找到页面的问题
    location / {
        root   /opt/gdsapp/HHGC_dashboard/html/dist;
        index  index.html index.htm;
        if (!-e $request_filename) {
            rewrite ^(.*)$ /index.html?s=$1 last;
            break;
        }
    }
}
按照他这个配置下来,大体没啥问题,就是每次请求头是http,而不是https,这就导致无法真实的访问到服务端的接口地址,因为现在服务端接口地址是:https://xxx.xxx.cn/jeecg-boot/
所有需要修改一下配置文件,做一个重定向,让他进行代理跳转到https服务接口下:最终版本就成了这样:
  server {
   listen 443;
   server_name xxx.xxx.cn;
   return 301 https://$http_host$request_uri;
   access_log  off;
   }

    server {
        listen       3000;
        server_name xxx.xxx.cn;

       ssl_certificate /opt/server.crt;
       ssl_certificate_key /opt/server.key;

        #后台服务配置,配置了这个location便可以通过http://域名/jeecg-boot/xxxx 访问
        location ^~ /jeecg-boot {
            proxy_pass              https://localhost:443/jeecg-boot/;
            proxy_set_header        Host localhost;
            proxy_set_header        X-Real-IP $remote_addr;
            proxy_set_header        X-Forwarded-For $proxy_add_x_forwarded_for;
        }
        #解决Router(mode: 'history')模式下,刷新路由地址不能找到页面的问题
        location / {
            root   html;
            index  index.html index.htm;
            if (!-e $request_filename) {
                rewrite ^(.*)$ /index.html?s=$1 last;
                break;
            }
        }

      }
最终无BUG运行OK!!!!