附一个示例e6书写 todolist的示例,切换list的状态:
//todolist示例
const toggleTodo = (id)=>{
    setTodos(todos => todos.map((todo)=>{
        return todo.id === id
            ? {
                ...todo,
                complete:!todo.complete,
            }
            :todo;
    }))
}
=======================华丽的分割线!
可以参考文章:移动PWA初探
首先安装http服务:
npm install server -g
然后执行 server
navigator.serviceWorker.register('./sw.js',{scope:'/'}).   //scope代表这个脚本可以控制的页面的相对路径,默认就是脚本本身所在的路径
then(registration => {
    console.log(registration);
},error=>{
    console.error(error);
})
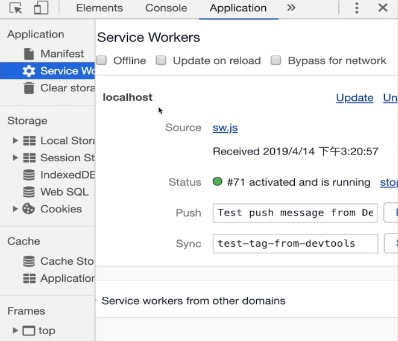
打开控制台

self 表示全局作用域对象,生命周期有三个:
self.addEventListener('install',event=>{ //只要sw.js有一点不同,就会重新执行这里
    console.log('install',event);
    event.waitUntil(new Promise(resolve=>{
        setTimeout(resolve,5000)
    })); //这个函数传入一个promise,执行完毕之后才表示install执行完毕,然后执行 activate
    //
    event.waitUntil(self.skipWaiting())
    /*
        根据 Service Worker 生命周期的特性,如果浏览器还在使用旧的 Service Worker 版本,即使有 Service Worker 新的版本也不会立即被浏览器激活,只能进行安装并进入等待状态,直到浏览器 Tab 标签被重新关闭打开。
        在开发调试 Service Worker 时肯定希望重新加载后立即激活,我们不希望每次都重新打开当前页面调试,为此我们可以在 install 事件发生时通过 skipWaiting() 来设置 skip waiting 标记。 这样每次 Service Worker 安装后就会被立即激活。
    */
})
self.addEventListener('activate',event=>{
    console.log('activate',event);
})
self.addEventListener('fetch',event=>{ //项目有外部请求,比如引入css文件,就会触发
    console.log('fetch',event);
})
缓存资源的写入和读取:
const CACHE_NAME = 'cache-v1';

self.addEventListener('install',event=>{
    console.log('install',event);
    event.waitUntil(caches.open(CACHE_NAME).then(cache =>{
        cache.addAll([
            '/',
            './index.css'
        ])
    }))
})
self.addEventListener('activate',event=>{
    console.log('activate',event);
    event.waitUntil(self.clients.claim());
})
self.addEventListener('fetch',event=>{
    console.log('fetch',event);
    event.respondWidth(caches.open(CACHE_NAME).then(cache => {
        return cache.match(event.request).then(response => {
            if(response){//如果 response 存在 说明命中了缓存
                return response;
            }
            //如果没有命中 则保存缓存
            return fetch(event.request).then(response=>{
                cache.put(event.request,response.clone());
                // 对应着 cache.put(key,value) 由于response是流式的 所以要加以缓存
                return response;
            })
        })
    }))
})
清理因为名字改变后的缓存:
self.addEventListener('activate',event=>{
    console.log('activate',event);
    //每次跟新缓存名字之后,都要清理之前的缓存,在fetch之前进行清理
    event.waitUntil(caches.keys().then(cacheNames=>{ //cacahe.key()得到所有缓存的名字
        return Promise.all(cacheNames.map(cacheName => {
            if(cacheName !== CACHE_NAME){
                return caches.delete(cacheName)
            }
        }))
    }));
})

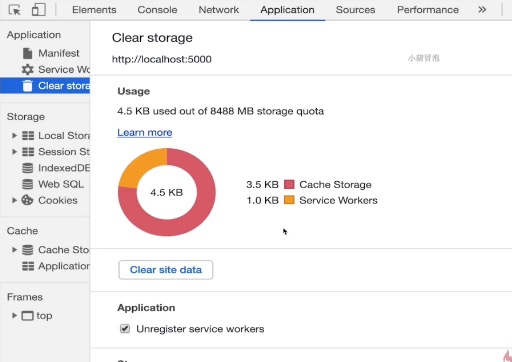
现在是有两个的缓存,如果执行 激活状态下的 清理缓存 步骤之后,这里的缓存会变少。
Notification API (通知API)