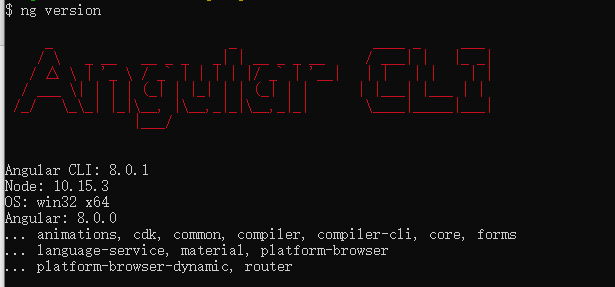
版本:

1、自定义管道:
example: 定义一个*ngFor 可以获取key值的管道
keyObject.pipe.ts
// key value 管道
import { Pipe, PipeTransform } from '@angular/core';

@Pipe({
    name: 'getKeys'
})

export class keyValue implements  PipeTransform  {
    transform(value, args: string[]): any {
        let keys = [];
        for (let key in Object.keys(value)) {
            console.log(key);
            keys.push({ key: key, value: value[key] });
        }
        return keys;
    }
}

// 使用操作
/*
step 1
    app.module.ts 引入
    import { keyValue } from './common/keyObject.pipe';
    @NgModule({
      declarations: [
        keyValue,
      ],
step 2
    // 循环的时候使用
    // 原始值[{name: '', point: ''}]
    // 转换的值[{key:0 , value:{name: '', point: ''}}]
    <div *ngFor="let item of chipsList | getKeys">{{item.value.name}}<input type="number" step="0.01" min="0"
        [value]="item.value.point" (change)="this.changeValue(item.key);" class="inputClass" /></div>

*/
2、自定义指令:
example:定义一个移入标签高光显示的指令
highLight.ts
// highlight指令
import { Directive, ElementRef, HostListener, Input } from '@angular/core';

@Directive({

  selector: '[appHighlight]'

})

export class HighlightDirective {

@Input('appHighlight')  highlightColor: string;  //highlightColor是appHighlight指令的别名

  constructor(private el: ElementRef) {
  //  el.nativeElement.style.backgroundColor = 'yellow';
  }
  private highlight(color: string) {
    this.el.nativeElement.style.backgroundColor = color;
  }
  @HostListener('mouseenter') onMouseEnter() {
    this.highlight(this.highlightColor);
  }

  @HostListener('mouseleave') onMouseLeave() {
    this.highlight(null);
  }
}

// 使用操作
/*
step 1
    app.module.ts 引入
    import {HighlightDirective} from './common/highLight';
    @NgModule({
      declarations: [
        HighlightDirective,
      ],
step 2
    对某标签使用高光
    this.color = 'yellow';  // ts文件定义颜色
    <p [appHighlight] = "color"></p>

*/
3、使用原生html dom的内容
example: 获取input框的value值
原来的写法:document.getElementsByClassName('inputClass')[index]).value 值可以获取到,但是控制台会输出error,而且打包会失败
正确的写法:<HTMLInputElement>document.getElementsByClassName('inputClass')[index]).value 这样也可以获取到值,控制台没有error,打包也不会报错
同理 获取image 的src 属性 <HTMLImageElement>