本系列文章详细介绍使用 .net core 和 WPF 开发 升讯威在线客服与营销系统 的过程。本产品已经成熟稳定并投入商用。
请访问:https://kf.shengxunwei.com
对于在线客服与营销系统,客服端指的是后台提供服务的客服或营销人员,他们使用客服程序在后台观察网站的被访情况,开展营销活动或提供客户服务。在本篇文章中,我将详细介绍如何在 .net core 环境下使用 TCP 通信技术实现稳定高效与安全的客服端程序。
这里存在几个技术难点需要注意:
- 需要使客服端程序具备 24 小时不间断运行的能力,在处理网络通信时,必须100%的稳定。
- 必须具备应对网络波动的能力,不能网络稍有波动就断线。即使出现了短暂的网络中断,客服程序也不能做掉线处理,而是要具备保持和自动重连的能力。
- 要考虑安全性问题,服务端的端口监听,要能识别正常客服端连接,还是来自攻击者的连接。
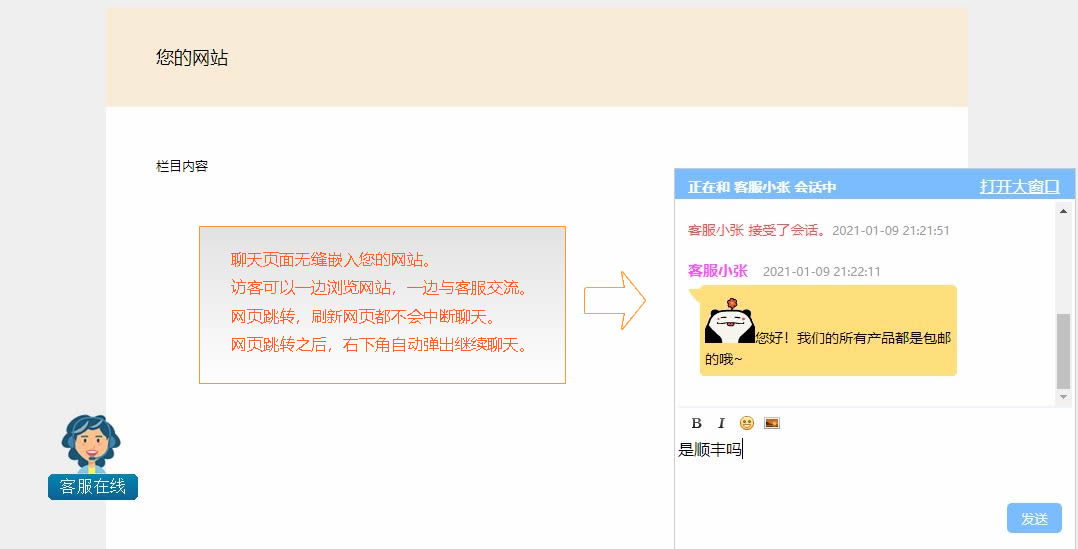
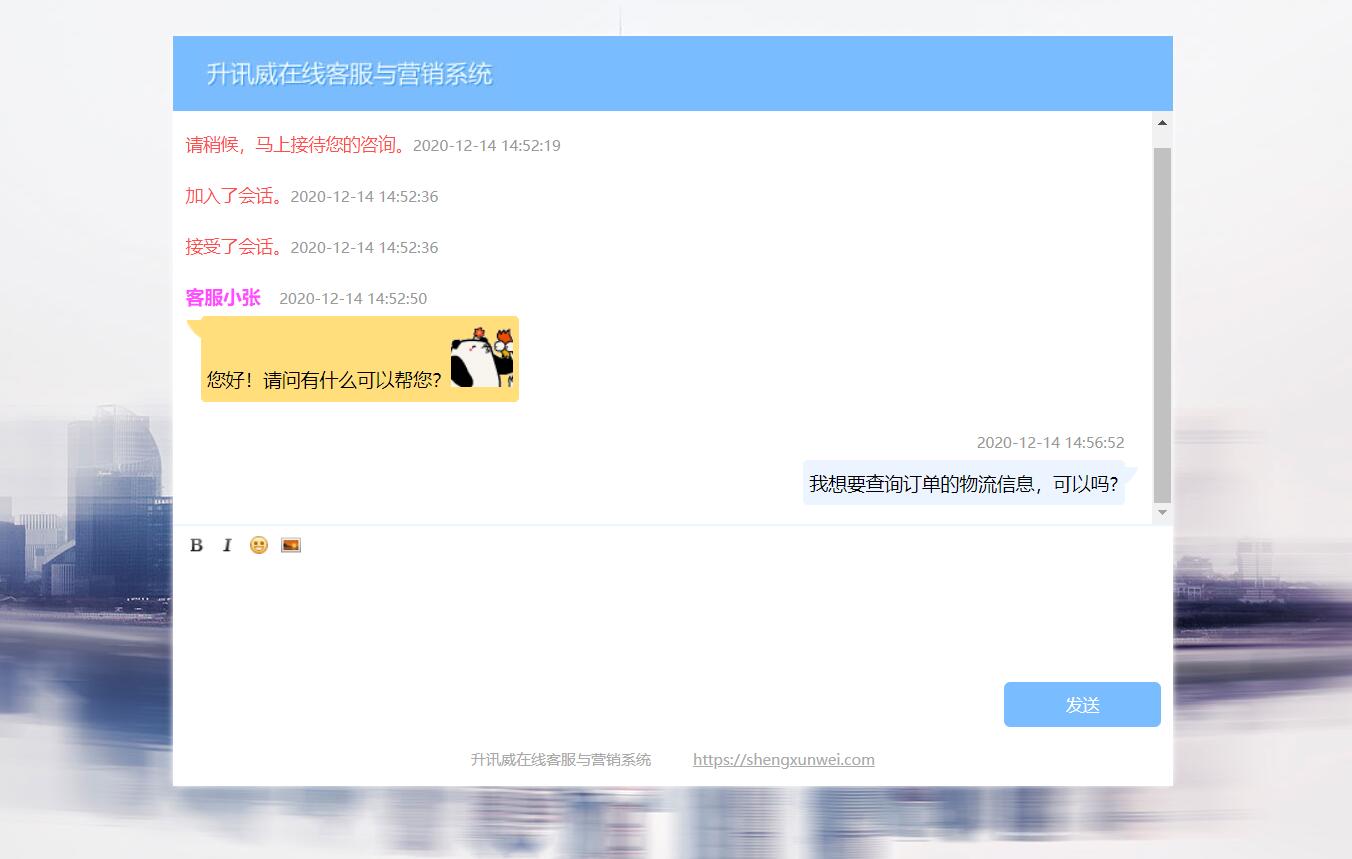
访客端实现的效果:


访客端在手机上的效果:
后台客服的实现效果:
在服务端上通过 TcpListener 监听客服连接
TcpListener类提供了简单的方法,这些方法在阻止同步模式下侦听和接受传入连接请求。 可以使用 TcpClient 或 Socket 来连接 TcpListener 。 TcpListener使用 IPEndPoint 、本地 IP 地址和端口号或仅端口号创建一个。 Any为本地 IP 地址指定,如果希望基础服务提供商为你分配这些值,则为0。 如果你选择执行此操作,则可以在 LocalEndpoint 套接字连接后使用属性来标识分配的信息。
使用 Start 方法开始侦听传入连接请求。 Start将排队传入的连接,直到调用 Stop 方法或已将其排入队列 MaxConnections 。 使用 AcceptSocket 或 AcceptTcpClient 从传入连接请求队列请求连接。 这两种方法将会阻止。 如果要避免阻塞,可以 Pending 先使用方法来确定队列中是否有连接请求。
调用 Stop 方法以关闭 TcpListener 。
下面的代码示例创建一个 TcpListener 。
using System;
using System.IO;
using System.Net;
using System.Net.Sockets;
using System.Text;

class MyTcpListener
{
  public static void Main()
  {
    TcpListener server=null;
    try
    {
      // Set the TcpListener on port 13000.
      Int32 port = 13000;
      IPAddress localAddr = IPAddress.Parse("127.0.0.1");

      // TcpListener server = new TcpListener(port);
      server = new TcpListener(localAddr, port);

      // Start listening for client requests.
      server.Start();

      // Buffer for reading data
      Byte[] bytes = new Byte[256];
      String data = null;

      // Enter the listening loop.
      while(true)
      {
        Console.Write("Waiting for a connection... ");

        // Perform a blocking call to accept requests.
        // You could also use server.AcceptSocket() here.
        TcpClient client = server.AcceptTcpClient();
        Console.WriteLine("Connected!");

        data = null;

        // Get a stream object for reading and writing
        NetworkStream stream = client.GetStream();

        int i;

        // Loop to receive all the data sent by the client.
        while((i = stream.Read(bytes, 0, bytes.Length))!=0)
        {
          // Translate data bytes to a ASCII string.
          data = System.Text.Encoding.ASCII.GetString(bytes, 0, i);
          Console.WriteLine("Received: {0}", data);

          // Process the data sent by the client.
          data = data.ToUpper();

          byte[] msg = System.Text.Encoding.ASCII.GetBytes(data);

          // Send back a response.
          stream.Write(msg, 0, msg.Length);
          Console.WriteLine("Sent: {0}", data);
        }

        // Shutdown and end connection
        client.Close();
      }
    }
    catch(SocketException e)
    {
      Console.WriteLine("SocketException: {0}", e);
    }
    finally
    {
       // Stop listening for new clients.
       server.Stop();
    }

    Console.WriteLine("
Hit enter to continue...");
    Console.Read();
  }
}
在客服端使用 TcpClient 连接到服务器
TcpClient 类提供了在同步阻止模式下通过网络连接、发送和接收流数据的简单方法。
为了 TcpClient 连接和交换数据, TcpListener Socket 使用 TCP 创建的或 ProtocolType 必须侦听传入连接请求。 可以通过以下两种方式之一连接到此侦听器:
- 创建一个 TcpClient 并调用三个可用方法中的一个 Connect 。
- TcpClient使用远程主机的主机名和端口号创建一个。 此构造函数将自动尝试连接。
我们使用下面的代码建立一个客服端连接程序:
static void Connect(String server, String message)
{
  try
  {
    // Create a TcpClient.
    // Note, for this client to work you need to have a TcpServer
    // connected to the same address as specified by the server, port
    // combination.
    Int32 port = 13000;
    TcpClient client = new TcpClient(server, port);

    // Translate the passed message into ASCII and store it as a Byte array.
    Byte[] data = System.Text.Encoding.ASCII.GetBytes(message);

    // Get a client stream for reading and writing.
   //  Stream stream = client.GetStream();

    NetworkStream stream = client.GetStream();

    // Send the message to the connected TcpServer.
    stream.Write(data, 0, data.Length);

    Console.WriteLine("Sent: {0}", message);

    // Receive the TcpServer.response.

    // Buffer to store the response bytes.
    data = new Byte[256];

    // String to store the response ASCII representation.
    String responseData = String.Empty;

    // Read the first batch of the TcpServer response bytes.
    Int32 bytes = stream.Read(data, 0, data.Length);
    responseData = System.Text.Encoding.ASCII.GetString(data, 0, bytes);
    Console.WriteLine("Received: {0}", responseData);

    // Close everything.
    stream.Close();
    client.Close();
  }
  catch (ArgumentNullException e)
  {
    Console.WriteLine("ArgumentNullException: {0}", e);
  }
  catch (SocketException e)
  {
    Console.WriteLine("SocketException: {0}", e);
  }

  Console.WriteLine("
 Press Enter to continue...");
  Console.Read();
}
本文对使用 TCP 协议搭建客服端通信框架进行了简要的介绍,在接下来的文章中,我将具体解构服务端程序的结构和设计、客服端程序的结构和设计,敬请关注。
请访问:https://kf.shengxunwei.com
联系QQ: 279060597
联系E-mail:C5118@outlook.com