(1)Download WSDL files
Set up → API → API WSDL page → Generate Enterprise WSDL
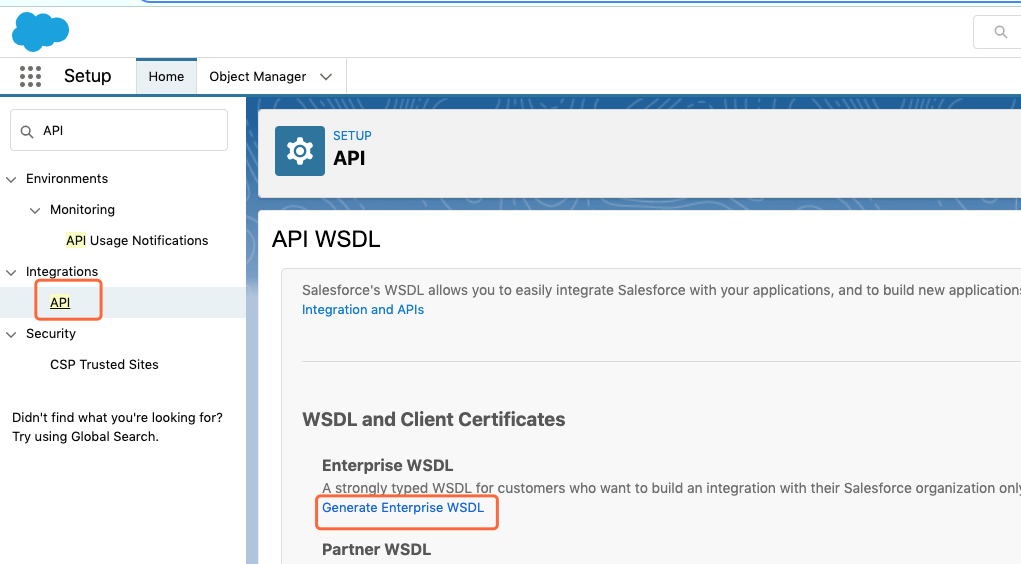
This will take several minutes to create a page. right-click the page and save as wsdl.jsp.xml file on your local laptop.
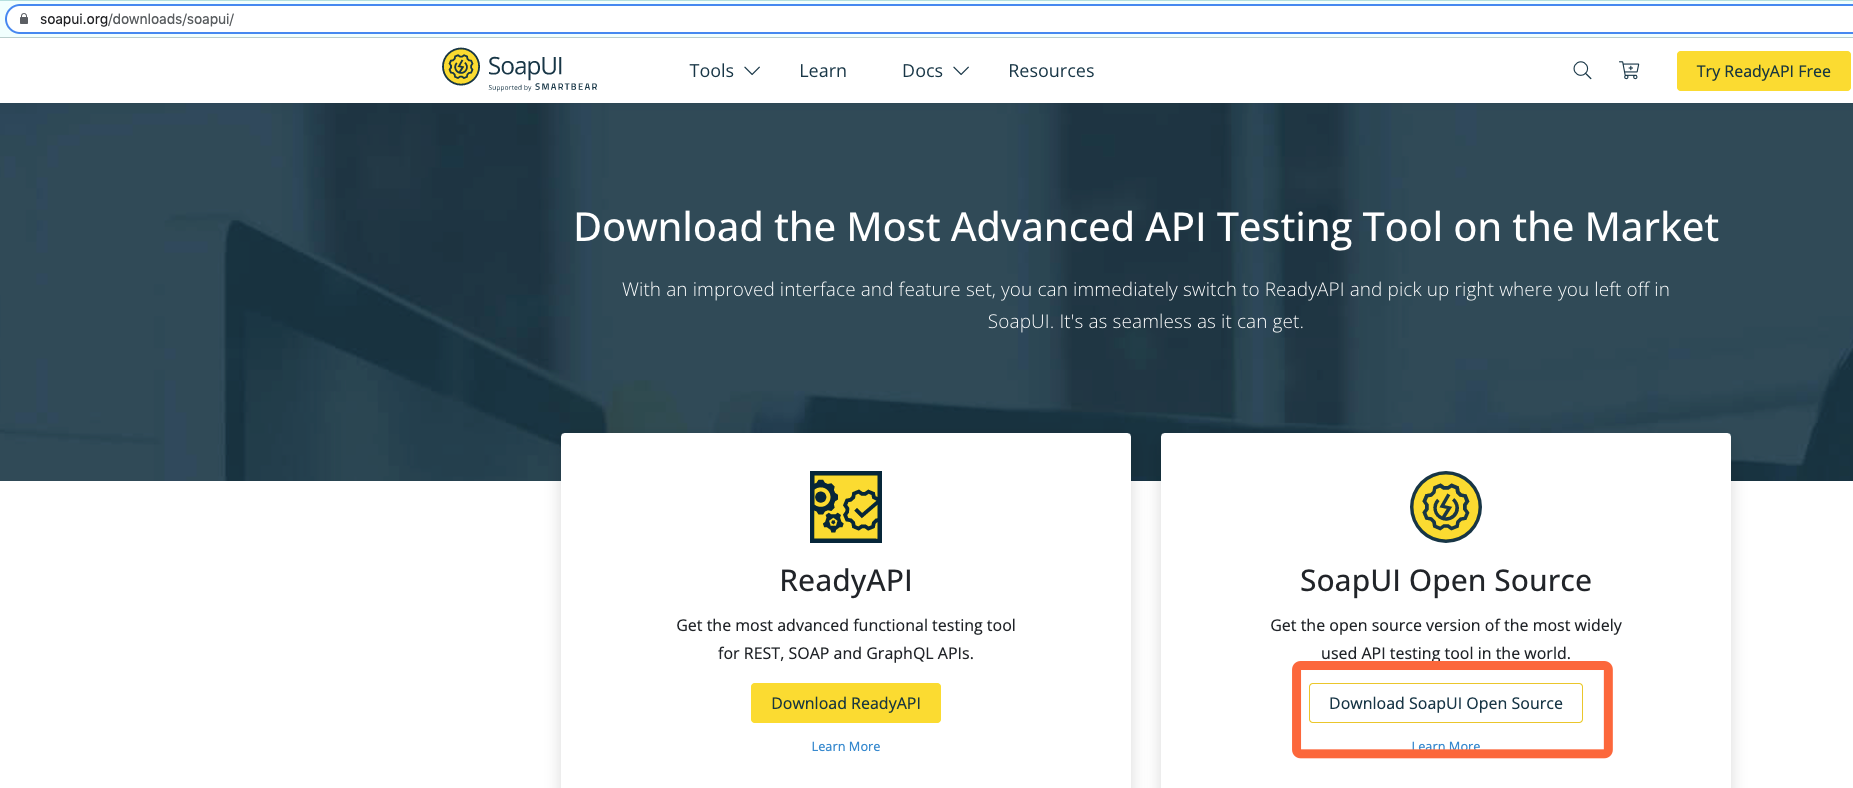
(2)Download SOAP UI OpenSource from https://www.soapui.org/downloads/soapui/
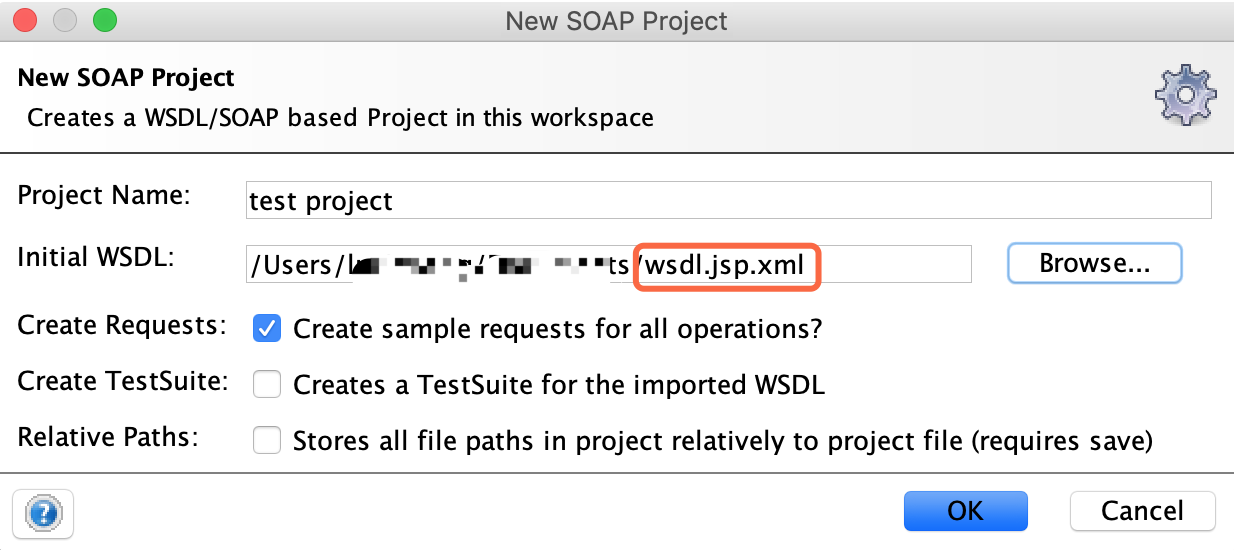
(3)Install the SoapUI component using the package downloaded in the last step. Launch SoapUI, find file menu, select New SOAP Project. enter a project name.

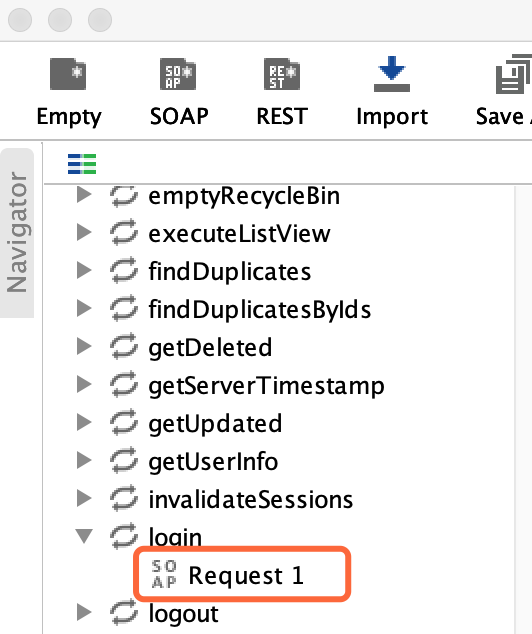
(4) Update Login request, click Request1.
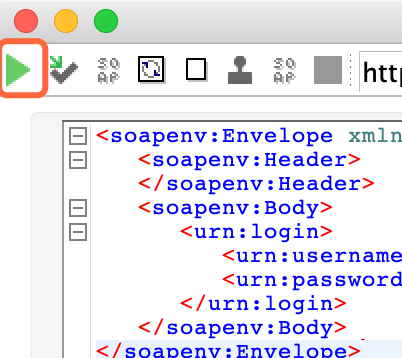
<soapenv:Envelope xmlns:soapenv="http://schemas.xmlsoap.org/soap/envelope/" xmlns:urn="urn:enterprise.soap.sforce.com">
   <soapenv:Header>
   </soapenv:Header>
   <soapenv:Body>
      <urn:login>
         <urn:username>your_username</urn:username>
         <urn:password>your_password+security_token</urn:password>
      </urn:login>
   </soapenv:Body>
</soapenv:Envelope>
Click the green triangle on the top (play button) to run the request.
From the response, you can get the session id and the custom URL. it will be needed in the other calls.

(5)Create an account
Update the custom URL and session ID. Specify the object name and account name.

Click the play button and then you can find this account in the SF.
