场景
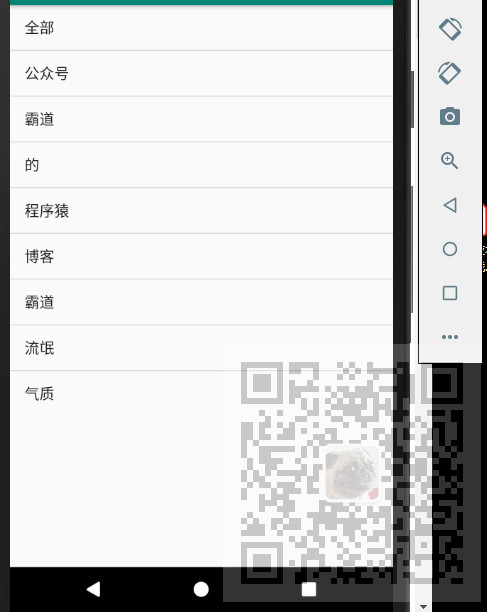
实现效果如下

注:
博客:
https://blog.csdn.net/badao_liumang_qizhi
关注公众号
霸道的程序猿
获取编程相关电子书、教程推送与免费下载。
实现
将布局改为LinearLayout,并通过android:orientation="vertical">设置为垂直布局,然后添加id属性。
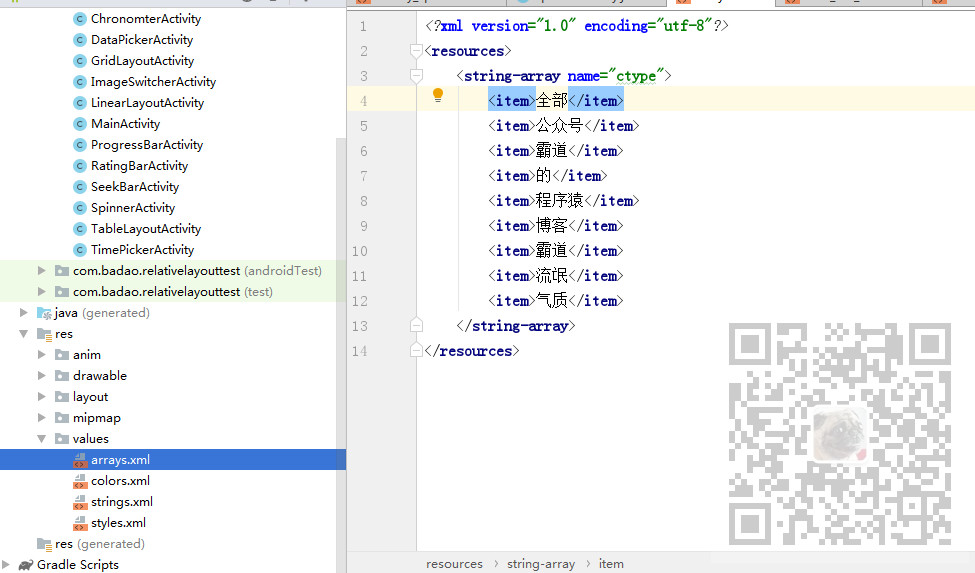
然后在res下values下新建arrays.xml,数组资源文件,用来存储listView的选项内容

arrays.xml:
<?xml version="1.0" encoding="utf-8"?>
<resources>
    <string-array name="ctype">
        <item>全部</item>
        <item>公众号</item>
        <item>霸道</item>
        <item>的</item>
        <item>程序猿</item>
        <item>博客</item>
        <item>霸道</item>
        <item>流氓</item>
        <item>气质</item>
    </string-array>
</resources>
只要通过name属性赋值为ctype,后续被引用。
然后再回到activity_list_view.xml中,通过
android:entries="@array/ctype"
为listView设置选项数组内容。
<?xml version="1.0" encoding="utf-8"?>
<LinearLayout xmlns:android="http://schemas.android.com/apk/res/android"
    xmlns:app="http://schemas.android.com/apk/res-auto"
    xmlns:tools="http://schemas.android.com/tools"
    android:layout_width="match_parent"
    android:layout_height="match_parent"
    android:orientation="horizontal"
    tools:context=".ListViewActivity">

    <ListView
        android:id="@+id/listView"
        android:entries="@array/ctype"
        android:layout_width="match_parent"
        android:layout_height="wrap_content"/>

</LinearLayout>
如果不想用这种资源文件的方式,想在代码中进行赋值,将entries属性去掉,来到activity中
首先声明一个String数组,然后声明一个适配器,并获取listView,最后将适配器与listView绑定
package com.badao.relativelayouttest;

import androidx.appcompat.app.AppCompatActivity;

import android.os.Bundle;
import android.widget.ArrayAdapter;
import android.widget.ListView;

public class ListViewActivity extends AppCompatActivity {

    @Override
    protected void onCreate(Bundle savedInstanceState) {
        super.onCreate(savedInstanceState);
        setContentView(R.layout.activity_list_view);
        //声明数组
        String[] ctype = new String[]{"全部", "公众号", "霸道的程序猿", "博客", "霸道流氓气质"};
        //声明适配器
        ArrayAdapter<String> adapter = new ArrayAdapter<String>(this, android.R.layout.simple_list_item_1, ctype);
        //获取listView
        ListView listView = (ListView) findViewById(R.id.listView);
        //关联适配器与listView
        listView.setAdapter(adapter);
    }
}
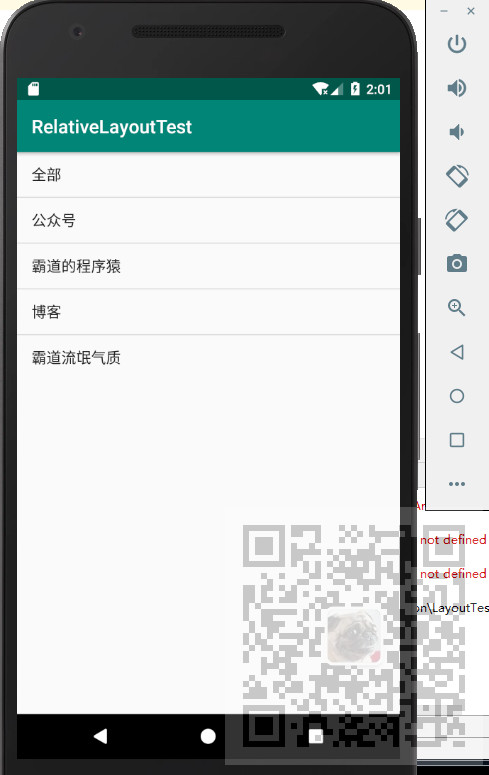
效果
