C# TreeView 拖拽节点到另一个容器Panel中简单实现
用了这么久C#拖拽功能一直没有用到也就没用过,今天因为项目需要,领导特地给我简单讲解了下拖拽功能,真是的大师讲解一点通啊。特地写一篇博客记录下,分享给大家!也方便以后自己查看。
1.拖拽功能分析
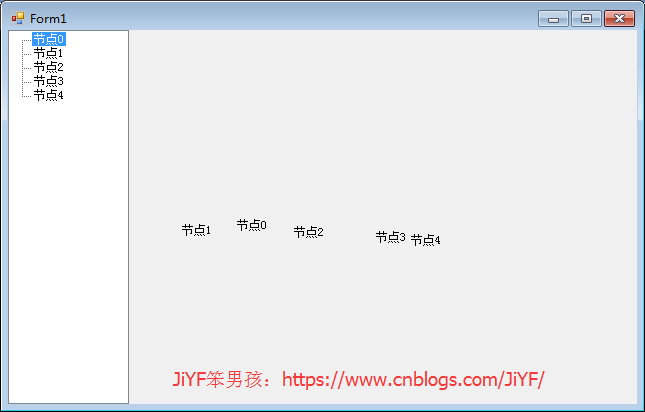
拖拽功能分析其实就三个字:选-->拖-->放 什么意思,请看下图

本图大概就是将左侧TreeView中的节点拖拽到右侧的Panel控件中,然后根据业务处理想要的效果
拖拽过程分为三步:
- 将左侧的TreeView的节点选中
- 拖拽选中的节点
- 放入右侧panel容器中
2.拖拽用到的事件以及属性
对于TreeView控件需要监听:
- ItemDrag 事件(当用户开始拖动节点时发生)。
对于Panel控件:
- 开启Panel的AlowDrop属性设置为true 表示允许进行拖入操作
-
DragEnter事件 在将对象拖入控件的边界时发生。
- DragDrop事件 在完成拖放操作时发生。
3.代码实现
这里拖入完成后的位置随便写的,自己研究吧!
 1         private void OnTreeView1ItemDrag(object sender, ItemDragEventArgs e)
 2         {
 3             IDataObject data = new DataObject();
 4
 5             data.SetData("Test", e.Item);
 6
 7             //开始拖放操作
 8             this.DoDragDrop(data, DragDropEffects.Copy);
 9         }
10
11         private void OnPanel1DragEnter(object sender, DragEventArgs e)
12         {
13             if (e.Data.GetDataPresent("Test"))
14                 e.Effect = DragDropEffects.Copy;
15             else
16                 e.Effect = DragDropEffects.None;
17         }
18
19         private void OnPanel1DragDrop(object sender, DragEventArgs e)
20         {
21             object item = e.Data.GetData("Test");
22
23             TreeNode node = (TreeNode)item;
24             Label label = new Label();
25
26             this.panel1.Controls.Add(label);
27
28             label.AutoSize = true;
29             label.Location = new System.Drawing.Point(e.X - this.treeView1.Width - this.panel1.Location.X, e.Y - this.panel1.Location.Y);
30             label.Name = node.Name;
31             label.Size = new System.Drawing.Size(41, 12);
32             label.TabIndex = 0;
33             label.Text = node.Name;
34
35         }
4.程序运行效果

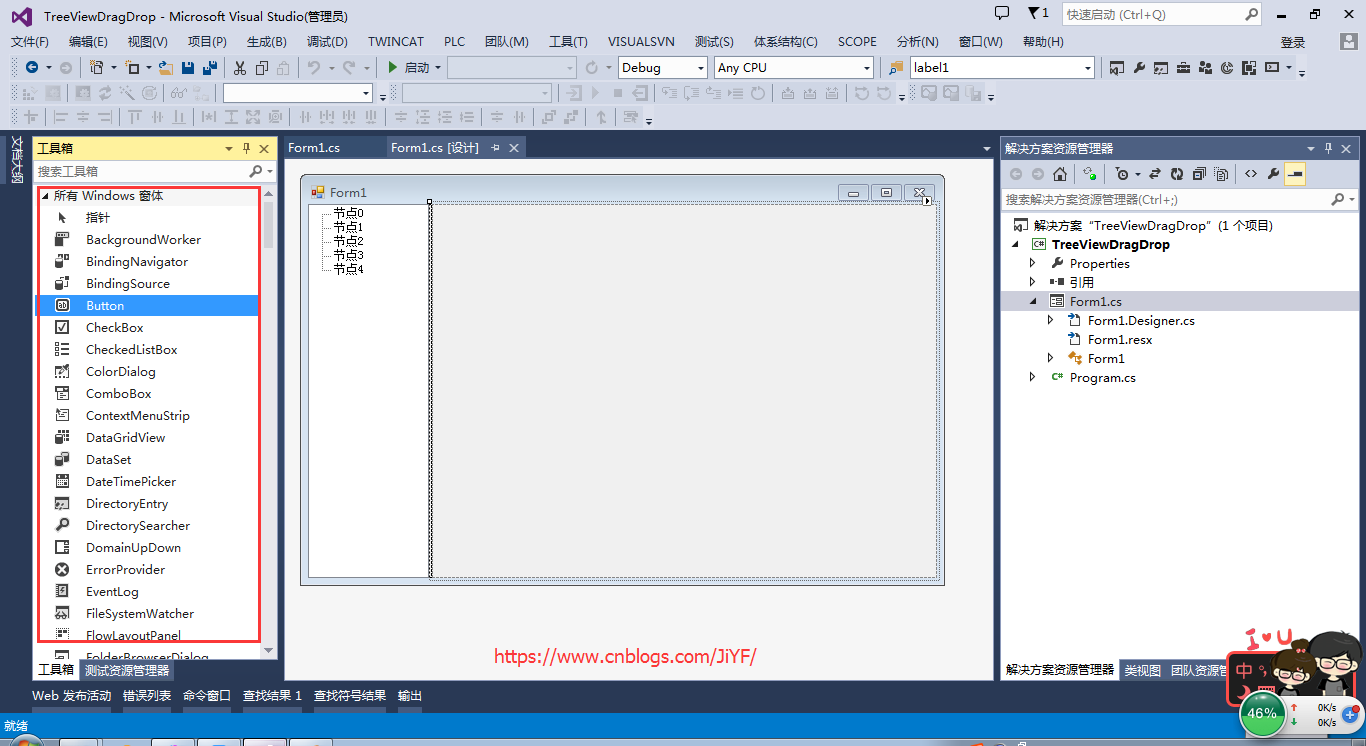
实际上VS本身的工具箱应该都很熟悉,平时拖拽一个按钮控件等,就是这个拖拽
